How to make an iPhone screen recording smaller so you can send it
Published 16 October 2026 · 5 min read
To make an iPhone screen recording smaller, cut off what you do not need, then lower the resolution or the frame rate when you re-encode it. A screen recording is an ordinary video file in Photos, so every normal way of shrinking a video works on it. The two things that matter most are length and frame rate.
This guide covers the free steps that need no extra app first, then shows how Minivid, an iPhone app that compresses video on the phone itself, does the same job when you want a size target. It does not depend on which app you were recording.
Why is a screen recording so big?
A video’s size is roughly its bitrate times its length: size in MB is about the bitrate in Mbps times the seconds, divided by 8. A screen recording is made at the full resolution of your screen and is often recorded at a high frame rate so that scrolling looks smooth, and it can run for several minutes without you noticing, because you are busy doing the thing you want to show.
The exact numbers depend on your iPhone model and iOS version, so look at the real size instead of guessing: open the recording in Photos and swipe up, or use Get Info in the Files app. The layout depends on your iOS version.
The upside is that a lot of a screen is still from one frame to the next, so a screen recording usually has room to shrink without looking worse for what you want to show.
How do I trim the recording first?
Fewer seconds always means a smaller file, whatever the bitrate, so start here. It costs nothing and uses only Photos:
- 1Open the recording in Photos and tap Edit.
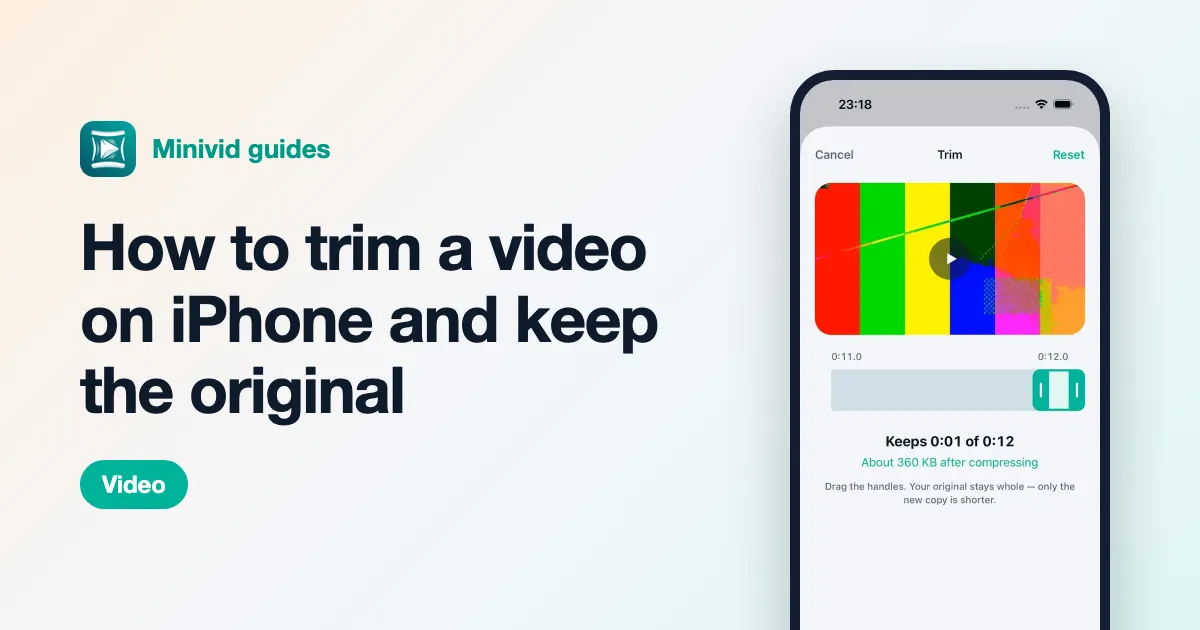
- 2Drag the yellow handles at the ends of the timeline to keep only the part that matters. Screen recordings often start and end with the Control Center swipe, which nobody needs to see.
- 3Tap Done, then choose Save Video as New Clip so the full recording stays as it was.
Next time, a short clip for each question is easier to send than one long recording of everything.
How do I make it smaller without losing what matters?
- Lower the frame rate. 30 fps is plenty for showing an app, a settings screen or a bug. Fewer frames per second means less data, and a bitrate that scales with the frame rate shrinks with it.
- Lower the resolution. A recipient reading it on a phone does not need the full pixel count. 720p is usually clear enough, but check that small text can still be read before you send.
- Think about the sound. If you recorded the microphone, it adds a little; if the recording has no spoken part you need, it can be dropped.
- Compress once, from the original. A copy of a copy loses quality and may not get smaller.
Photos and the Files app do not let you set a frame rate or a size, and Shortcuts has an Encode Media action that gives you a resolution choice but no size preview. Check the result in the info panel before you replace anything.
How do I do it in Minivid?
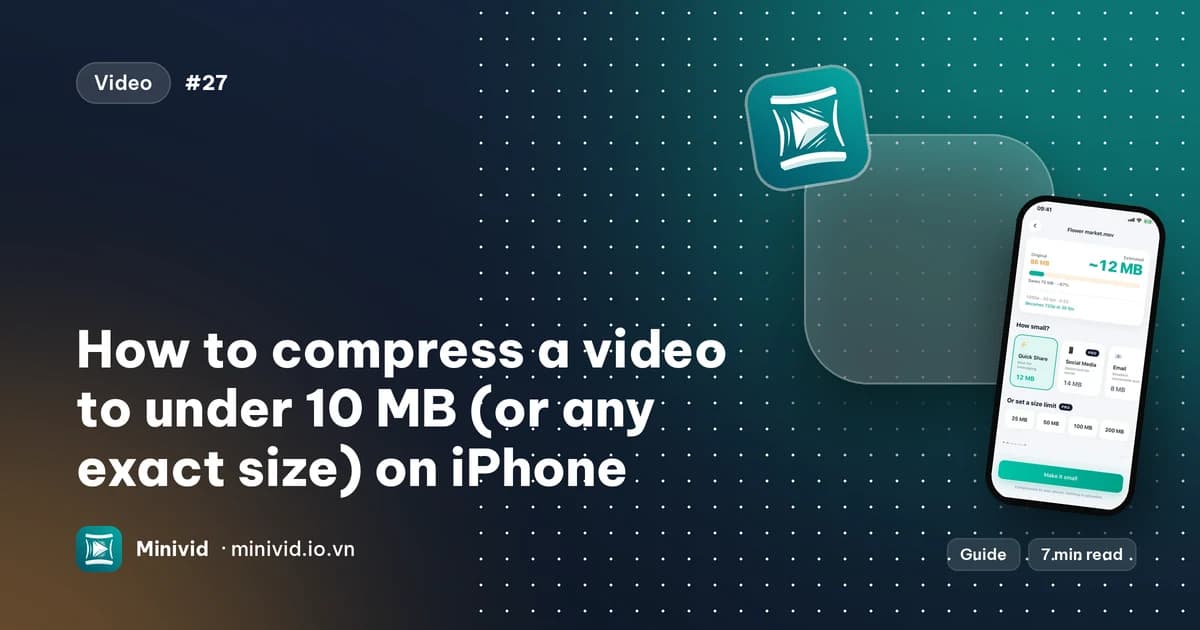
- 1Open Minivid and pick the screen recording from your library. It shows the original size and an estimated result before anything starts.
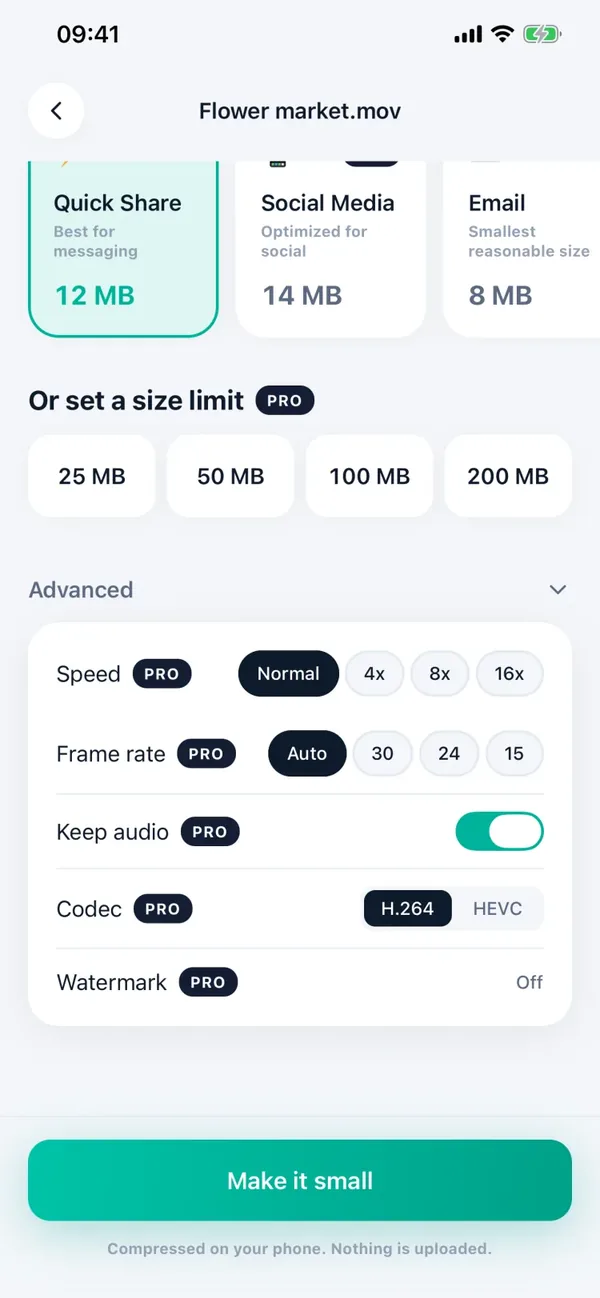
- 2Pick a preset. Quick Share, Email and Save Space are free and never go above 30 fps and 720p, so a 60 fps recording is already brought down. Social Media and Keep Quality are Pro.
- 3For more control, open Advanced. In Pro you can choose the frame rate (Auto, 30, 24 or 15), turn the audio off, and name a size limit such as 25 or 50 MB, and the estimate updates as you change them.
- 4Tap Make it small, keep Minivid open while it runs, then save or share the result. The result screen shows the new size next to the old one.
Minivid never sets the video bitrate above 95% of the source’s for its presets, so a recording that is already small is left close to its size, not made bigger. Everything happens on your iPhone and nothing is uploaded.
What is free and what is Pro?
In the free version you can compress videos up to 100 MB with the Quick Share, Email and Save Space presets, at up to 720p and 30 fps, with the estimated size shown first. Pro adds a chosen frame rate, size limits, 1080p and 4K, HEVC, turning the audio off and larger videos.
Trimming and checking sizes in Photos are free for everyone and need no app.
Frequently asked questions
Why is my iPhone screen recording so large?
It is captured at your screen’s full resolution and often at a high frame rate, and it is easy to let it run for minutes. Size is roughly bitrate times length, so a long recording adds up fast.
How do I trim a screen recording on iPhone?
Open it in Photos, tap Edit, drag the yellow handles to keep only the part you need, tap Done and choose Save Video as New Clip.
Does lowering the frame rate make a screen recording smaller?
Yes. With fewer frames per second there is less data to store. 30 fps is enough to show an app or a bug. Choosing a frame rate in Minivid is a Pro feature, but its free presets already stay at 30 fps or below.
Will text still be readable after compressing?
Usually at 720p, but check before you send. If small text blurs, keep a higher resolution and trim the clip instead.
Does Minivid upload my screen recording?
No. It compresses on your iPhone, works in airplane mode and does not change the original.
Want to know the size before you compress?
Minivid compresses video on your iPhone and shows the final size before it starts. Your videos are never uploaded.