How to trim a video on iPhone and keep the original
Published 1 October 2026 · 6 min read
The quickest way to trim a video on iPhone is the built-in Photos app: open the video, tap Edit, drag the yellow handles at either end of the timeline, tap Done and choose Save Video as New Clip. The original stays as it was, and the part you kept is saved as a separate video.
Photos can only cut from the start and the end. To remove a section from the middle, use iMovie, Apple’s free editor. This guide covers both, plus the mistakes that cost people the bit they actually wanted.
How do I trim a video in the Photos app?
- 1Open Photos and pick the video.
- 2Tap Edit. The video’s timeline appears at the bottom, with a handle at each end.
- 3Drag the left handle to where you want it to start and the right handle to where you want it to end. The frame around the kept part turns yellow.
- 4Tap play to check the selection. For finer control, touch and hold a handle and the timeline expands.
- 5Tap Done, then choose Save Video as New Clip.
The new clip is saved as its own video in your library. Nothing is re-compressed, so the picture is exactly as good as it was when you filmed it.
What is the difference between Save Video and Save Video as New Clip?
After you tap Done, iOS asks how to save:
- Save Video applies the trim to the video itself. The cut part is hidden rather than gone: open Edit again and tap Revert to get the full video back. Because the full file is kept so you can revert, this saves almost no storage.
- Save Video as New Clip makes a separate video that contains only the part you chose. The original is not touched.
If you are trimming to send something, pick the new clip: you get a shorter, lighter file to share and keep the whole recording. Once you are sure you no longer need the long version, delete it and empty Recently Deleted — only then does the space come back.
How do I cut a section out of the middle?
Photos cannot do this, but iMovie can:
- 1Open iMovie, tap Start New Project, choose Movie, select the video and tap Create Movie.
- 2Scroll the timeline until the white playhead sits where the unwanted part begins, tap the clip, tap the Actions button (the scissors) and choose Split.
- 3Do the same where the unwanted part ends. It is now a clip of its own.
- 4Tap that clip and tap Delete.
- 5Tap Done, tap the Share button and choose Save Video.
iMovie exports a new, re-encoded video, so if quality matters, pick the same resolution as the original under Options in the share sheet.
Does trimming a video make the file smaller?
Yes, and it is usually the most effective way to make it smaller. A video’s size is roughly proportional to its length: keep half and the file is about half the size, while every frame looks exactly as it did.
So before you think about lowering the resolution or changing the codec, trim first. The few seconds of fumbling at the start and the shot of the floor at the end cost you nothing to remove.
One catch: with Save Video (not a new clip), your library keeps the full version so you can revert, so no storage is freed.
What are the common trimming mistakes?
- Choosing Save Video and thinking the original is lost. It is not: open the video, tap Edit, tap Revert.
- Deleting the original before watching the new clip. Play it from start to finish first.
- Trimming too tightly and losing the first word someone says. Leave half a second at each end.
- Trimming a copy you downloaded back from a chat app. That copy has already been compressed once; trimming the original recording in your library looks better.
Where does Minivid help?
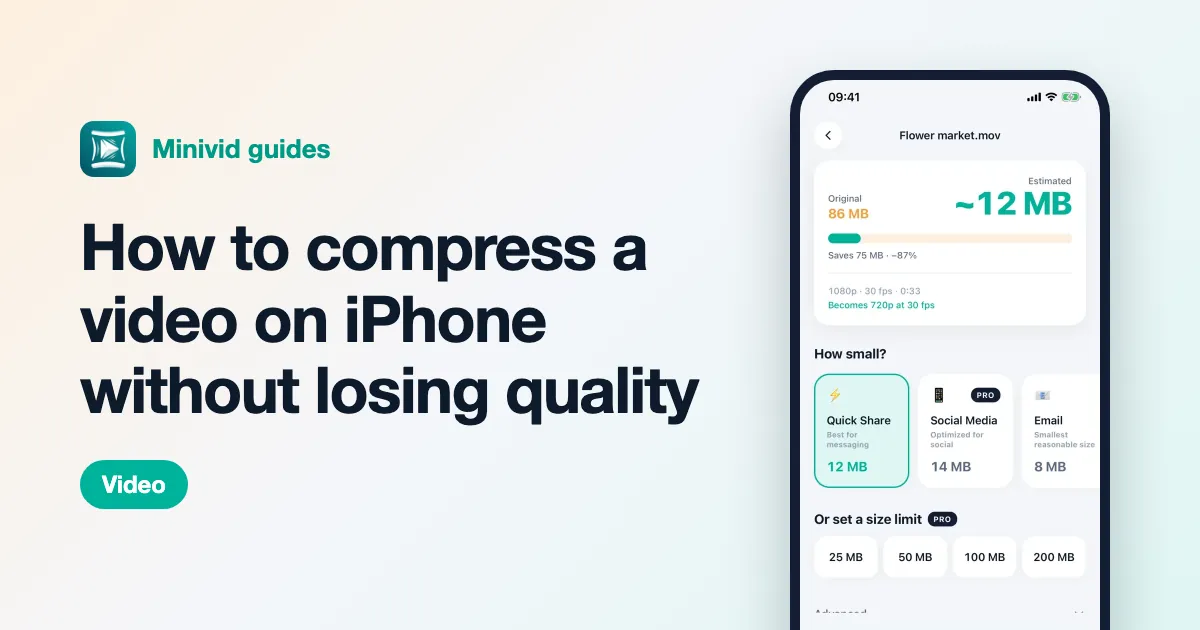
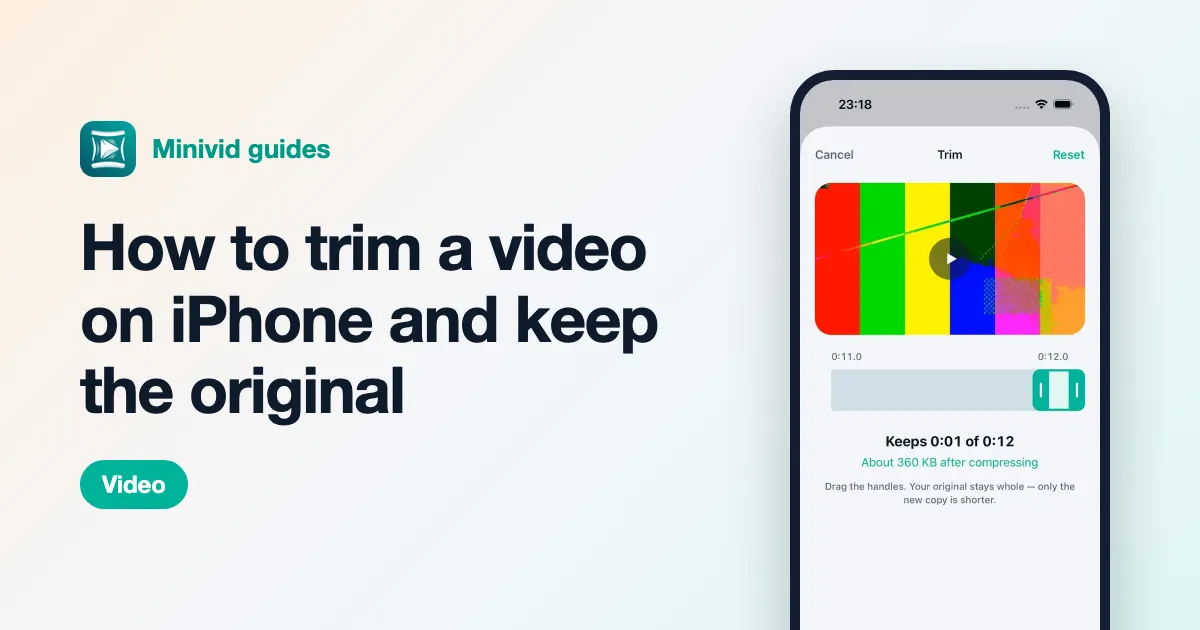
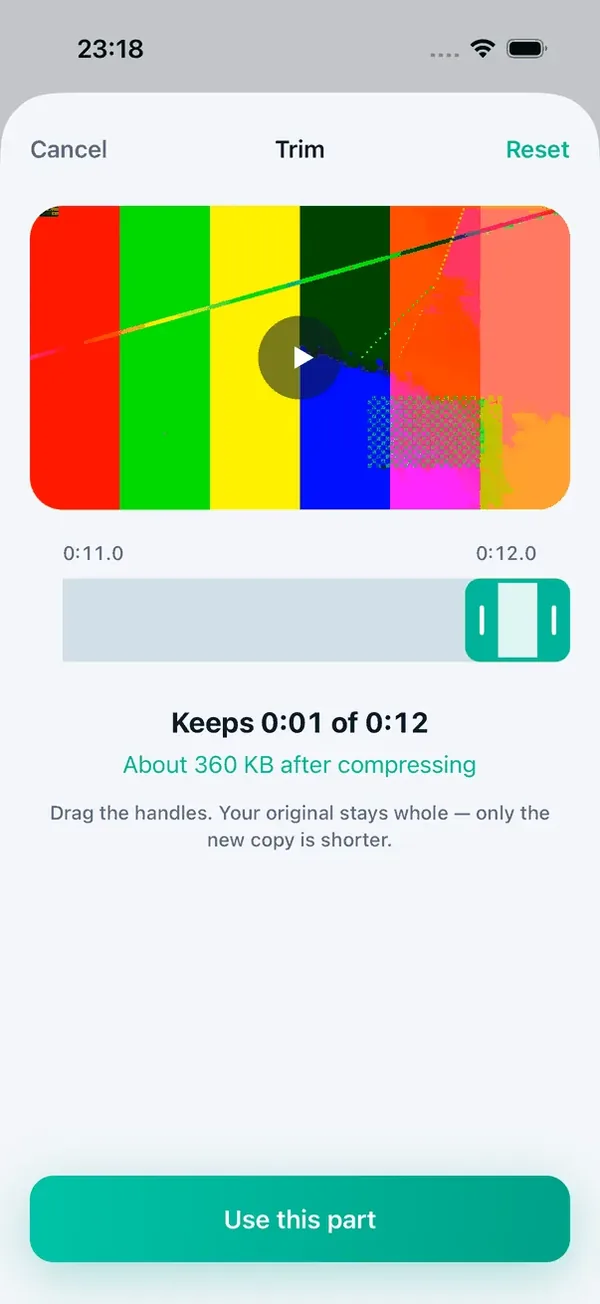
If you trim to send a video or to save space, Minivid does the trim and the compression in one step. On the setup screen, tap Trim and drag the handles: the estimated size after compressing updates as you go, so you know straight away whether the clip is small enough to send.
Trimming is free on iPhone. Minivid always makes a new copy, never touches the original, and runs entirely on your phone — nothing is uploaded. The free tier takes videos up to 100 MB and saves them in 720p; bigger videos and higher resolutions are part of Pro. If you only need to cut the ends and do not need a smaller file, the Photos app is all you need.
Want to know the size before you compress?
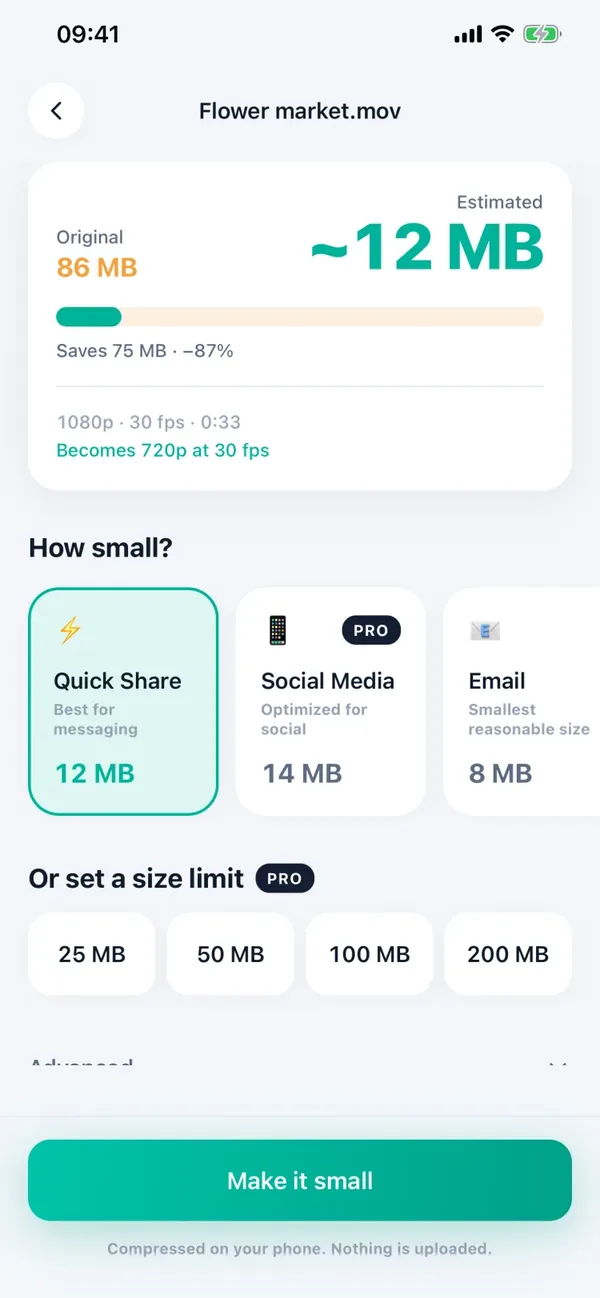
Minivid compresses video on your iPhone and shows the final size before it starts. Your videos are never uploaded.