How to convert HEIC photos to JPG on iPhone
Published 1 October 2026 · 6 min read
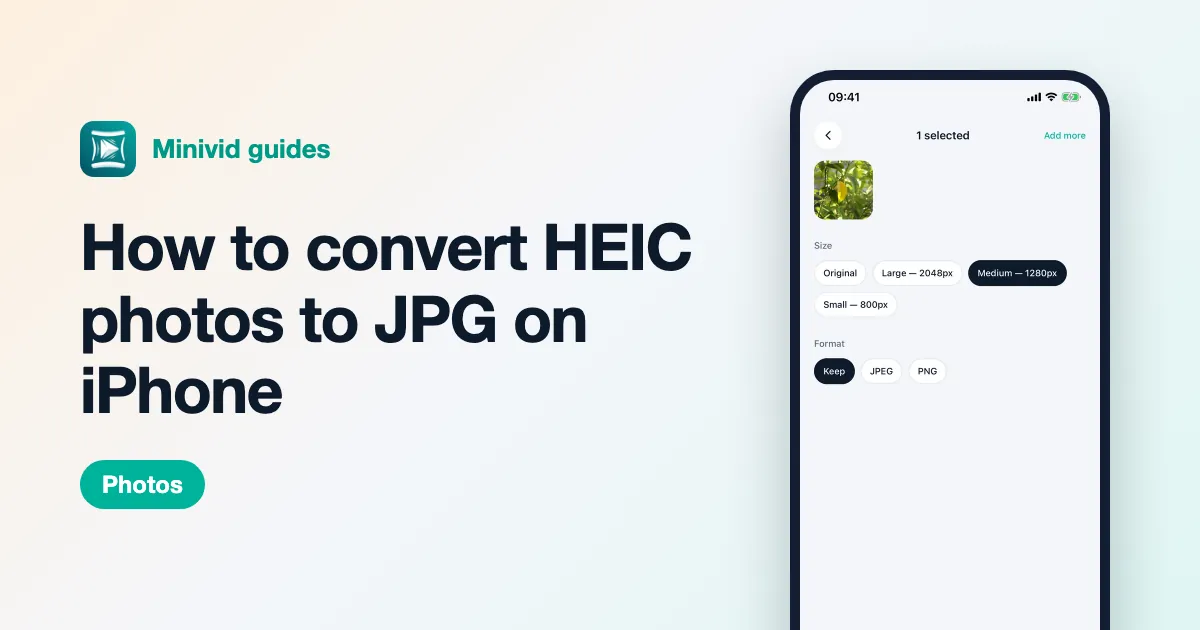
The quickest way to get a JPG of an HEIC photo on iPhone is to copy it in Photos and paste it into a folder in the Files app: on many iOS versions the pasted copy is a JPG file. If you want the iPhone to shoot JPG from now on, go to Settings › Camera › Formats and choose Most Compatible.
HEIC isn’t a problem in itself — it’s the format that keeps iPhone photos small without making them look worse. The trouble is only that some computers, websites and upload forms still can’t read it. This guide covers when converting is worth it and how to do it on the iPhone itself.
What is HEIC, and why does my iPhone use it?
Since iOS 11, the iPhone saves photos in the HEIF format by default, with the .heic file extension. At the same quality, an HEIC photo is usually noticeably smaller than a JPG, and it can hold things JPG can’t, such as the depth data behind Portrait mode.
On recent iPhones, iPads and Macs you never notice the difference. It only shows up when a photo leaves Apple’s devices:
- Older Windows PCs and older software can’t open .heic files.
- Some websites, application portals and online forms accept only JPG or PNG.
- Older printing, editing or photo management software reports an unsupported format.
So the real question isn’t “how do I get rid of HEIC”, but “how do I get a JPG when I need one”.
Do I need to convert every photo to JPG?
Usually not. When you share a photo from Photos through most messaging apps or email, iOS generally sends a compatible version for you. AirDrop or sending to a device that can’t read HEIC often delivers a JPG too.
Convert only when you hit a specific problem: a file that won’t open, a website that refuses the upload, or someone telling you they received an odd file. Converting your whole library to JPG only makes it bigger for no benefit.
How do I convert a few HEIC photos to JPG with the Files app?
This needs no extra app and works for several photos at once.
- 1Open the Files app, go to On My iPhone and create a new folder, for example “JPG photos”.
- 2Open Photos, tap Select and choose the photos to convert.
- 3Tap the Share button and choose Copy Photos (or Copy).
- 4Go back to the new folder in Files, touch and hold an empty spot and tap Paste.
- 5Touch and hold one of the files and tap Get Info to check the extension. If it is .jpg, use these files for your upload or attachment.
This behaviour depends on the iOS version. If the pasted files are still .heic, use one of the methods below. And a word on converter websites: uploading to one means your photos — sometimes ID documents — end up on someone else’s server.
How do I make my iPhone take photos in JPG?
If you regularly send photos to systems that only take JPG, change the camera’s default:
- 1Open Settings and tap Camera.
- 2Tap Formats.
- 3Choose Most Compatible.
From then on, new photos are JPG and new videos are H.264. Photos you already took don’t change. The trade-off is that new photos and videos take more space, and some high-quality video modes need High Efficiency. Many people keep High Efficiency as the default and convert only when they have to.
How do I copy photos to a computer as JPG?
When you import photos over a cable to a Windows PC, iOS can convert them on the way out:
- 1Open Settings › Photos.
- 2Scroll down to Transfer to Mac or PC.
- 3Choose Automatic instead of Keep Originals.
With Automatic, the iPhone transfers photos in a format the computer can read. Keep Originals does the opposite and copies the .heic files untouched.
Does converting to JPG make photos look worse?
Saving to JPG is lossy compression, but a single conversion at normal quality is practically invisible. Worth knowing:
- A JPG is usually bigger than the HEIC it came from, so don’t be surprised when the size goes up.
- Portrait photos lose their depth data, so you can no longer change the background blur.
- A Live Photo keeps only its still frame.
- Always keep the original HEIC in your library and use the JPG only for sending.
If you need transparency or want to avoid any further compression, PNG is the other option, at a much larger file size.
Where does Minivid help?
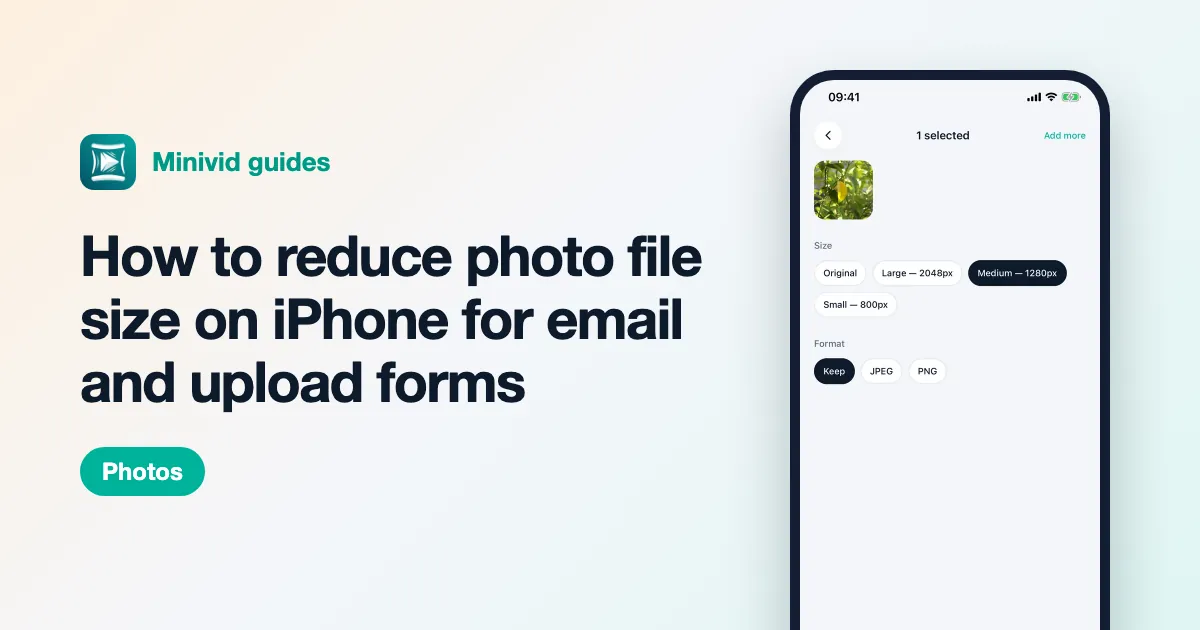
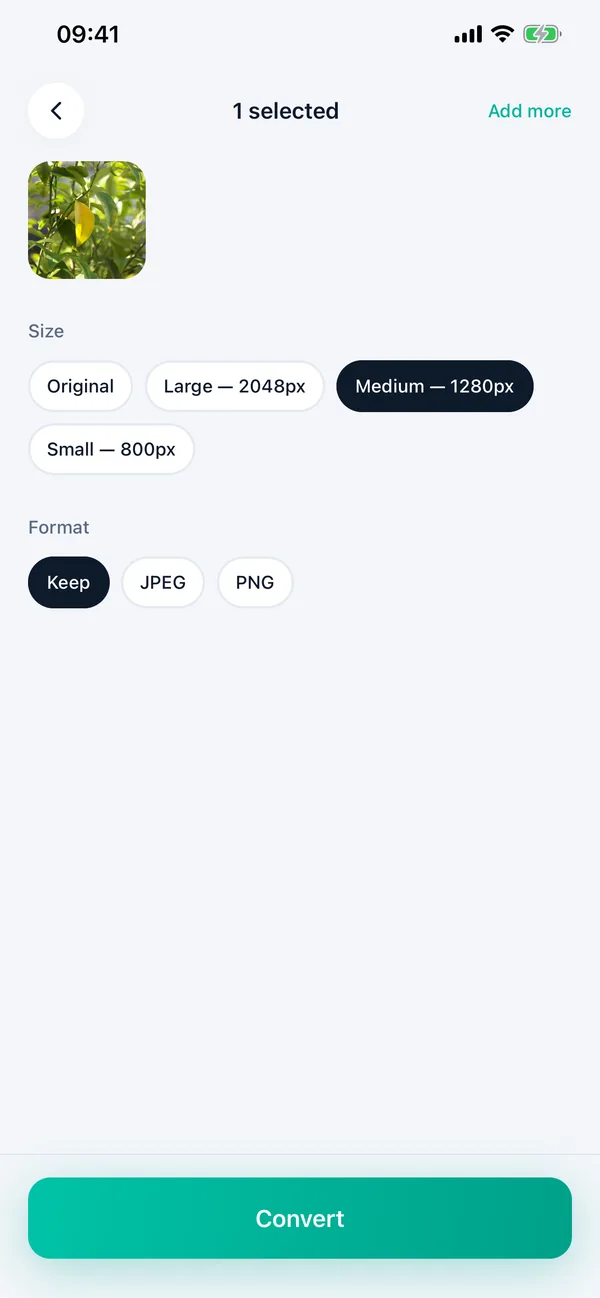
Minivid’s Convert & resize photos tool is free and suits the times you need JPGs of a whole batch without the detour through Files. Pick one or more photos, choose JPEG (or PNG) under Format, leave Size on Original if you only want a different format, and tap Convert. Then save them all to Photos or share them straight away.
Converted photos keep the original’s date and location, so they stay in the right place in your timeline. It all happens on your iPhone — nothing is uploaded — and the originals are left untouched. If you only need one or two photos now and then, the Files trick above is all you need.
Want to know the size before you compress?
Minivid compresses video on your iPhone and shows the final size before it starts. Your videos are never uploaded.