Change the iPhone camera settings or compress afterwards? Minivid vs the built-in way
Published 1 October 2026 · 6 min read
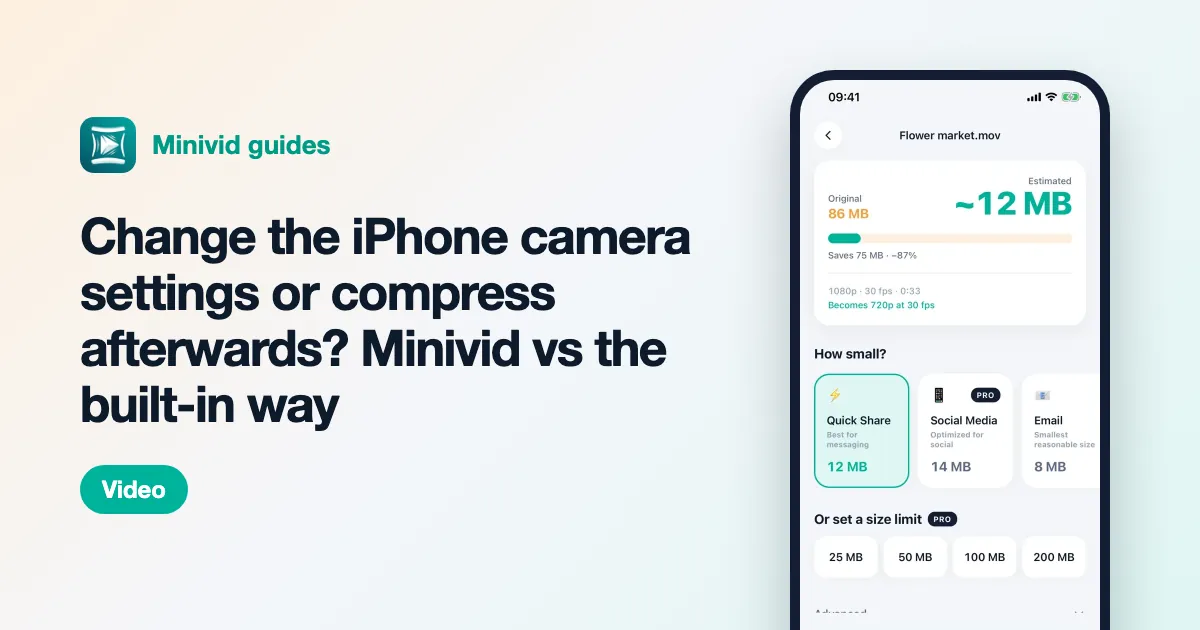
Changing the camera settings — Formats set to High Efficiency and a sensible Record Video resolution — is the best first move: it is free and makes every video you shoot from now on smaller. It does nothing for the videos already on your iPhone, though, and it applies one setting to everything; compressing afterwards with an app like Minivid shrinks existing videos one at a time, to a size you can see before you start.
They are not rivals. This page compares the two honestly, shows how to set up the camera, and explains when compressing afterwards is the better tool.
What do the iPhone camera format settings actually change?
Two settings decide how heavy a new video is:
- Settings › Camera › Formats. High Efficiency records video in HEVC (H.265) and photos in HEIF/HEIC. Most Compatible uses H.264 and JPEG. HEVC gives files that are much smaller at the same quality, and every recent Apple device plays them.
- Settings › Camera › Record Video. This picks the resolution and frame rate — for example 1080p at 30 fps or 4K at 60 fps. Each step up stores far more data per minute, and this screen shows an estimate of how much space a minute takes for each option.
Some high-end modes, such as 4K at 60 fps and HDR video, are only offered with High Efficiency on many models, because H.264 is not efficient enough for them. If an option is missing, check that Formats is set to High Efficiency.
How do I set up the camera to record smaller videos?
- 1Open Settings and tap Camera.
- 2Tap Formats and choose High Efficiency.
- 3Go back, tap Record Video and choose 1080p at 30 fps for everyday clips. Look at the size estimate on that screen to see the difference between options.
- 4If your model has them, check the toggles below the list — such as HDR Video or Auto FPS — and decide whether you need them.
- 5When you know a moment matters, switch to 4K from the quick toggle in the Camera app’s top corner instead of leaving it on all the time.
That is the whole job, and it costs nothing. From now on every clip is lighter.
What can the camera settings not do?
The limits are what make an after-the-fact tool useful:
- They only affect videos you record after the change. Years of 4K clips already in your library stay exactly as heavy as they are.
- One setting fits all. The same resolution applies to a birthday you want to keep in 4K and a clip of a parking spot you only need for a day.
- They do not aim at a size. The camera cannot record “a video under 25 MB for email” — length decides that.
- High Efficiency can cause friction when sharing. Most apps and services handle HEVC today, but some older Windows PCs, TVs and websites do not, and iOS then has to convert on the way out.
How do the two approaches compare?
Here is the comparison side by side. “Camera settings” means Formats plus Record Video in iOS Settings; “Compressing afterwards” means making a smaller copy of a finished video, as Minivid does.
| Camera settings (built in) | Compressing afterwards (Minivid) | |
|---|---|---|
| When it applies | Videos you record from now on | Any video already on your iPhone |
| Existing library | Unchanged | Shrinks the videos you choose |
| Control | One setting for every recording | Per video: preset, resolution, codec |
| Size known in advance | Rough per-minute estimate in Settings | Estimated file size shown before encoding |
| Compatibility | High Efficiency (HEVC) or Most Compatible (H.264) | H.264 or HEVC per video (HEVC is Pro) |
| Original | Not applicable — it is the original | Kept; a new copy is made |
| Cost | Free | Free up to 100 MB per video at 720p; Pro for more |
When is compressing afterwards the better choice?
- You need space now and most of it is in videos you already have. The camera setting will not touch them.
- You want to keep a video, just not at 4K weight. A smaller copy that looks the same on a phone screen can replace it.
- You need a specific size, for email or a chat app’s limit, which only depends on the finished video.
- You record in 4K on purpose, for editing or a big screen, and slim down only the clips that turn out not to need it.
Without an app, the built-in way to compress an existing video is the Encode Media action in the Shortcuts app, or exporting at a lower resolution from iMovie. Both work on the phone, but neither shows the size until it is done.
Where does Minivid help?
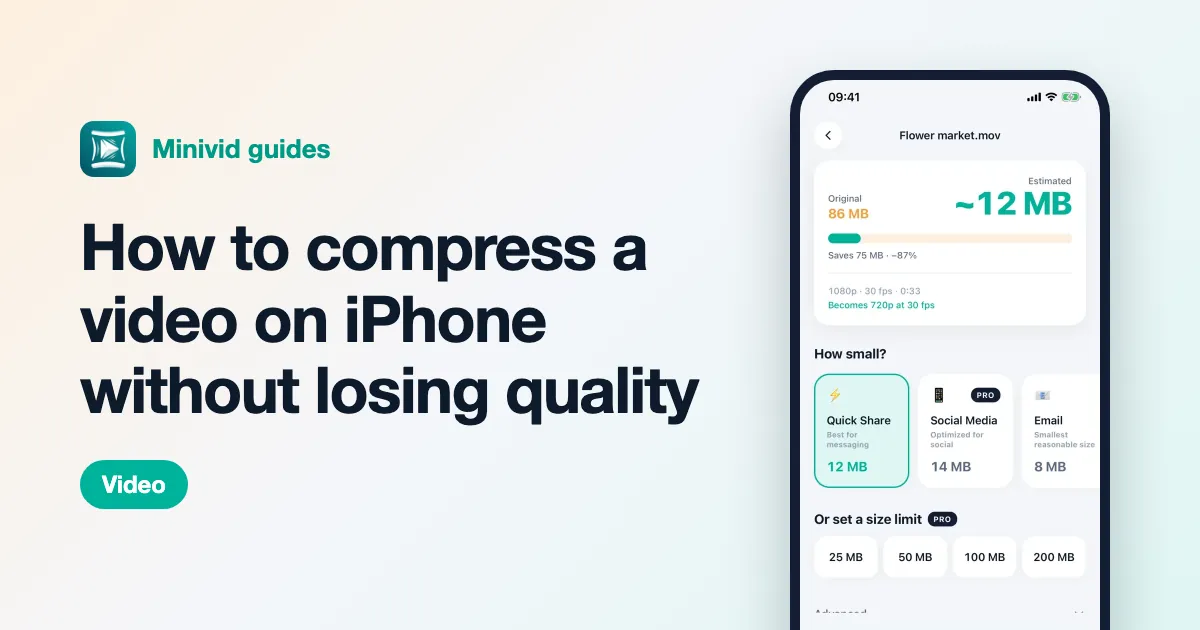
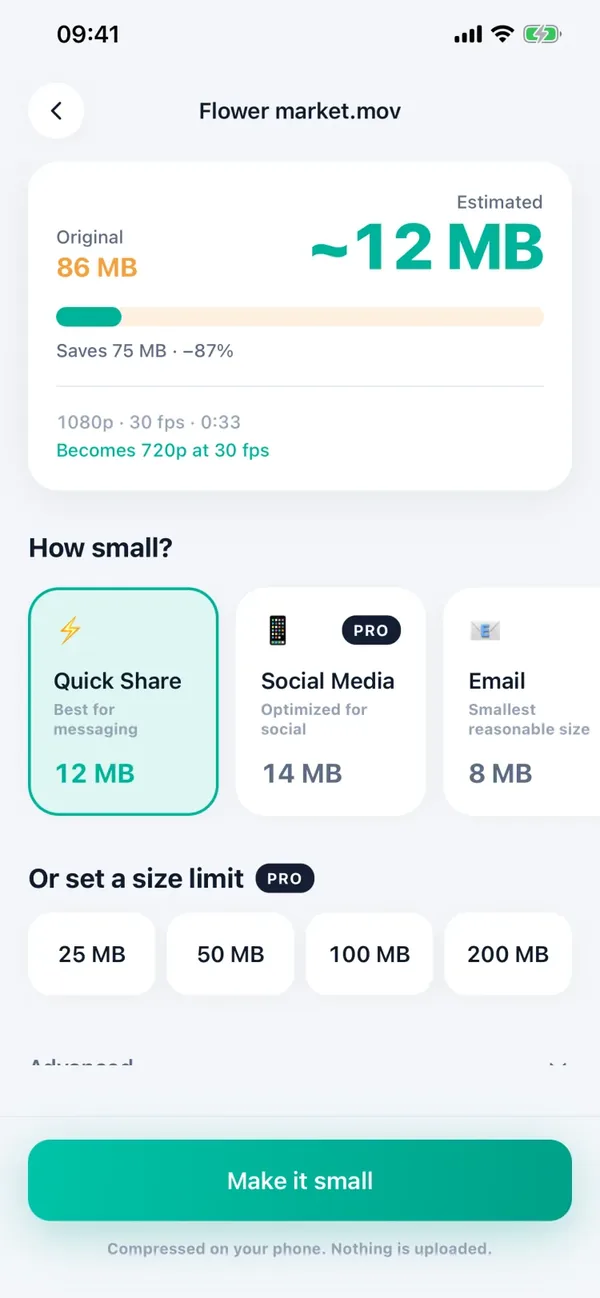
Minivid is the after-the-fact half. Pick a video and it shows the estimated size before it starts, updating as you change the preset — Quick Share, Social Media, Email, Save Space or Keep Quality — the resolution or the codec. Compression uses the iPhone’s own hardware encoder and runs on the phone; nothing is uploaded.
The free version compresses videos up to 100 MB and saves them in 720p. Pro adds 1080p and 4K output, HEVC, larger videos and compressing to an exact size. Your original is never modified: you get a new copy, and if you choose Replace original, Minivid saves the copy with the original’s date and location and iOS asks before the original goes to Recently Deleted.
So which should I do?
Both, in that order. Set Formats to High Efficiency and Record Video to 1080p at 30 fps today, so new clips stop growing your storage. Then deal with the heavy videos you already have — compress the ones worth keeping, delete the ones that are not — and switch the camera to 4K only for the moments that deserve it.
Want to know the size before you compress?
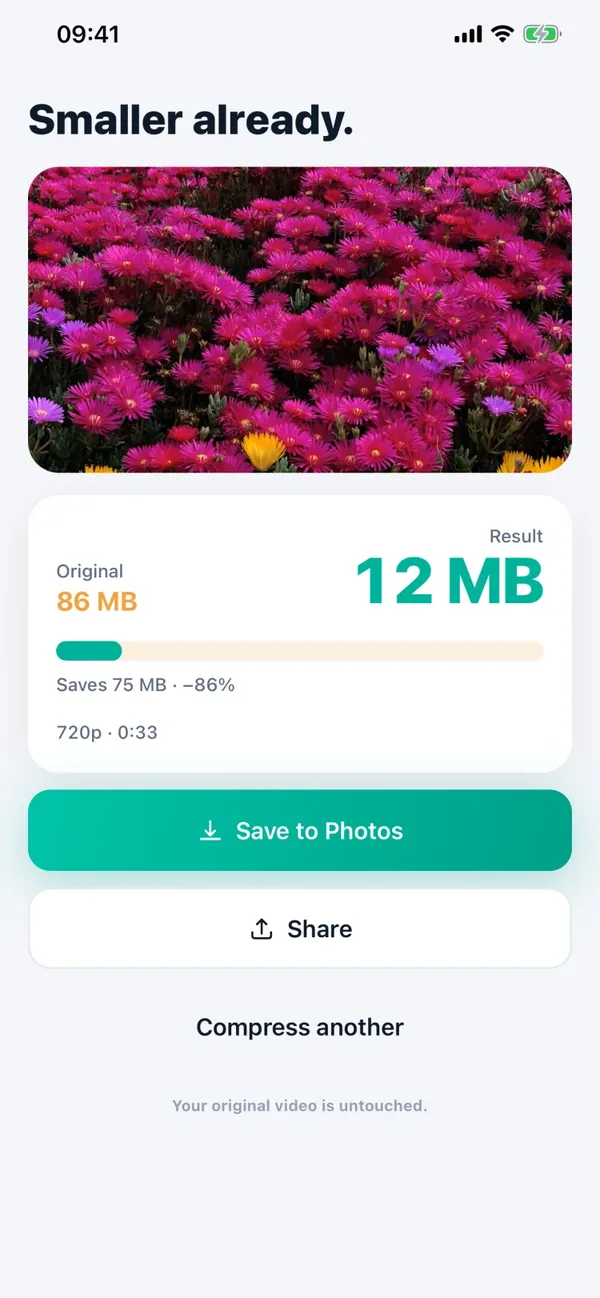
Minivid compresses video on your iPhone and shows the final size before it starts. Your videos are never uploaded.