How to remove an object or person from a photo on iPhone
Published 1 October 2026 · 6 min read
If your iPhone supports Apple Intelligence (iPhone 15 Pro and later, on iOS 18.1 or newer), open the photo in Photos, tap Edit, choose Clean Up and tap or circle what you want gone. On other iPhones, cropping removes anything near the edge, and an app with a fill tool handles the rest.
This guide covers Clean Up step by step, what to do on an iPhone without it, how to get a result that does not look patched, and how to keep the untouched original in case you change your mind.
Does my iPhone have Clean Up?
Clean Up is part of Apple Intelligence, so it depends on both the phone and the software:
- The iPhone has to support Apple Intelligence — the iPhone 15 Pro and 15 Pro Max and newer models.
- iOS 18.1 or later, with Apple Intelligence turned on in Settings › Apple Intelligence & Siri.
- Apple Intelligence has to be available in your region and language. If it is switched off or not supported, the Clean Up button does not appear.
The first time you use it, the iPhone may need a few minutes to download the model. If you open Edit and see no Clean Up button, one of the conditions above is not met — the methods further down still work.
How do I use Clean Up in Photos?
- 1Open the photo in the Photos app and tap Edit.
- 2Tap Clean Up. Photos highlights objects it thinks you might want to remove.
- 3Tap a highlighted object to erase it, or brush over or circle anything it did not highlight. Circling a person blurs their face when the area is too big to fill convincingly.
- 4Zoom in with two fingers for small things such as a cable or a spot on a lens.
- 5If the fill looks wrong, tap the undo button and try a slightly different stroke.
- 6Tap Done.
The edit is non-destructive: Photos keeps the original. To get it back later, open the photo, tap Edit, then Revert. If you want both versions side by side, duplicate the photo first (Share › Duplicate) and edit the copy.
What can I do on an iPhone without Clean Up?
Most iPhones in use today do not have Apple Intelligence. You still have a few options before reaching for an app:
- Crop it out. If the unwanted thing is near an edge — a finger, a bin at the side, half a stranger — cropping is the cleanest fix there is. In Photos, tap Edit, then Crop, and drag the corners in.
- Straighten and crop together. A slight rotation often lets you crop away a lamp post on one side without losing the subject.
- Use a Portrait photo’s depth. On a Portrait shot, lowering the depth effect slider (the f-number) in Edit blurs the background further, which makes distracting things behind your subject less noticeable.
- Pick another frame. If the photo was a Live Photo, open Edit, tap the Live Photo button and choose a different Key Photo — the person walking through may not be in every frame.
Anything in the middle of the picture needs a fill tool that paints in the background, which iOS only offers through Clean Up.
How do I get a natural-looking result?
Every fill tool, Apple’s included, works by borrowing from what is around the object. That gives a few practical rules:
- Small objects on busy, even backgrounds — grass, sand, water, sky, a wall — disappear best.
- Large objects, or anything covering a straight edge or a pattern, are hard. Expect bent lines and smudges.
- Remove things one at a time instead of in one big stroke. Several small fills usually look better than one large one.
- Cover the object’s shadow and reflection too, or a floating shadow will give it away.
- Check the result at full size and on a bigger screen before you share it. Patches that are invisible on a phone can show on a laptop.
How do I keep the original photo safe?
In Photos, edits can always be reverted, so the original is never really lost. Other tools may save a new file instead, which is also fine as long as you keep the old one until you are happy.
If you are editing for a client or for printing, export the edited version as a separate copy and leave the original untouched. And if the edit is for privacy — removing a house number or a licence plate — remember that a reverted edit brings the information back, so share the exported copy, not the original.
Where does Minivid help?
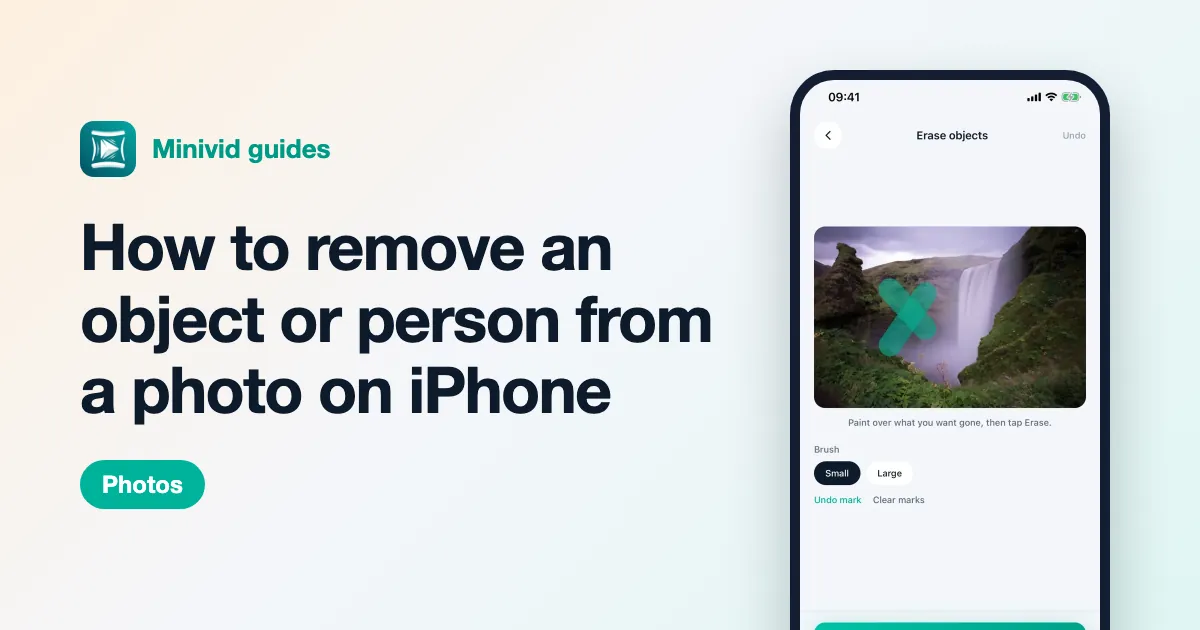
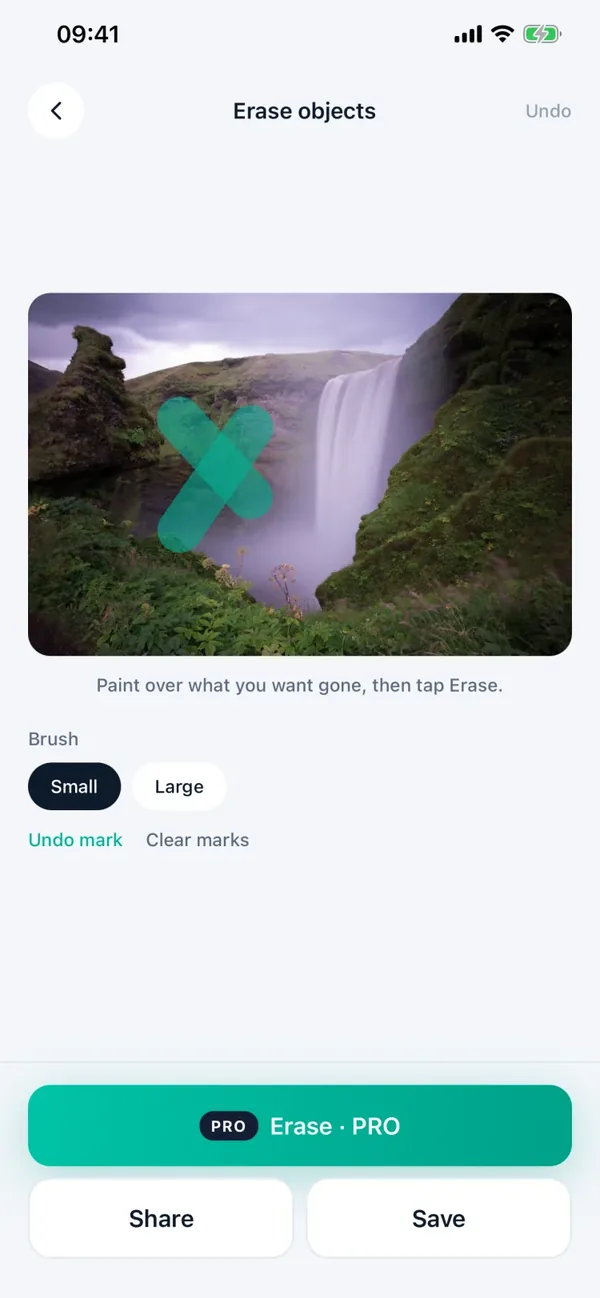
Minivid has an Erase objects tool for iPhones without Clean Up. Open a photo, paint over what you want gone with a small or large brush, and tap Erase: Minivid fills the area in from the rest of the photo. You can undo the last mark or clear all marks before erasing, and when you are happy, share the result or save it to Photos as a new photo.
Be realistic about what it is. It is a simpler fill, not generative AI, so it works best on small things over even backgrounds; when the area is large, Minivid tells you the result was softened. If your iPhone has Clean Up, use that first — it is free and built in. Trying the eraser and painting marks is free; applying the erase and saving the photo is part of Minivid Pro. Everything happens on your iPhone, and the photo is never uploaded.
Want to know the size before you compress?
Minivid compresses video on your iPhone and shows the final size before it starts. Your videos are never uploaded.